

Step-by-Step Installation Guide
Here you’ll learn how to prepare, assemble, and securely attach your self-printed FreeSlide Plates to your inline hockey goalie pads.
For installation, you’ll need your finished FreeSlide set, around 350 plastic balls with an 8 mm diameter, and a pack of self-adhesive hook-and-loop tape.
Follow the steps below for a secure fit and smooth sliding performance.


Step 1: Check the Print Quality
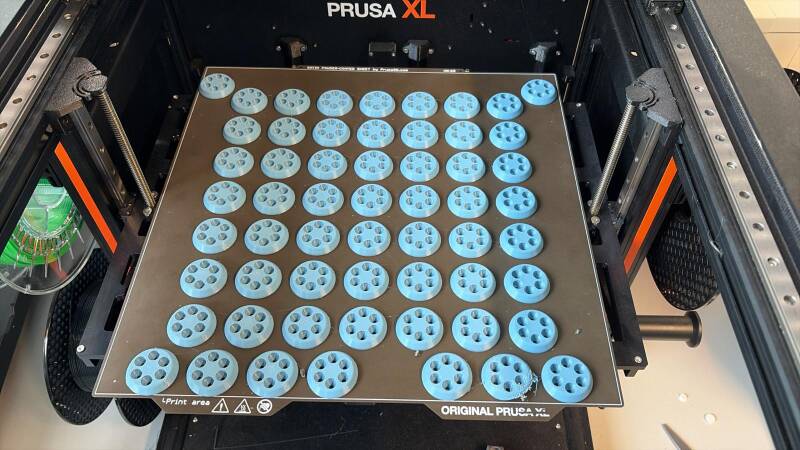
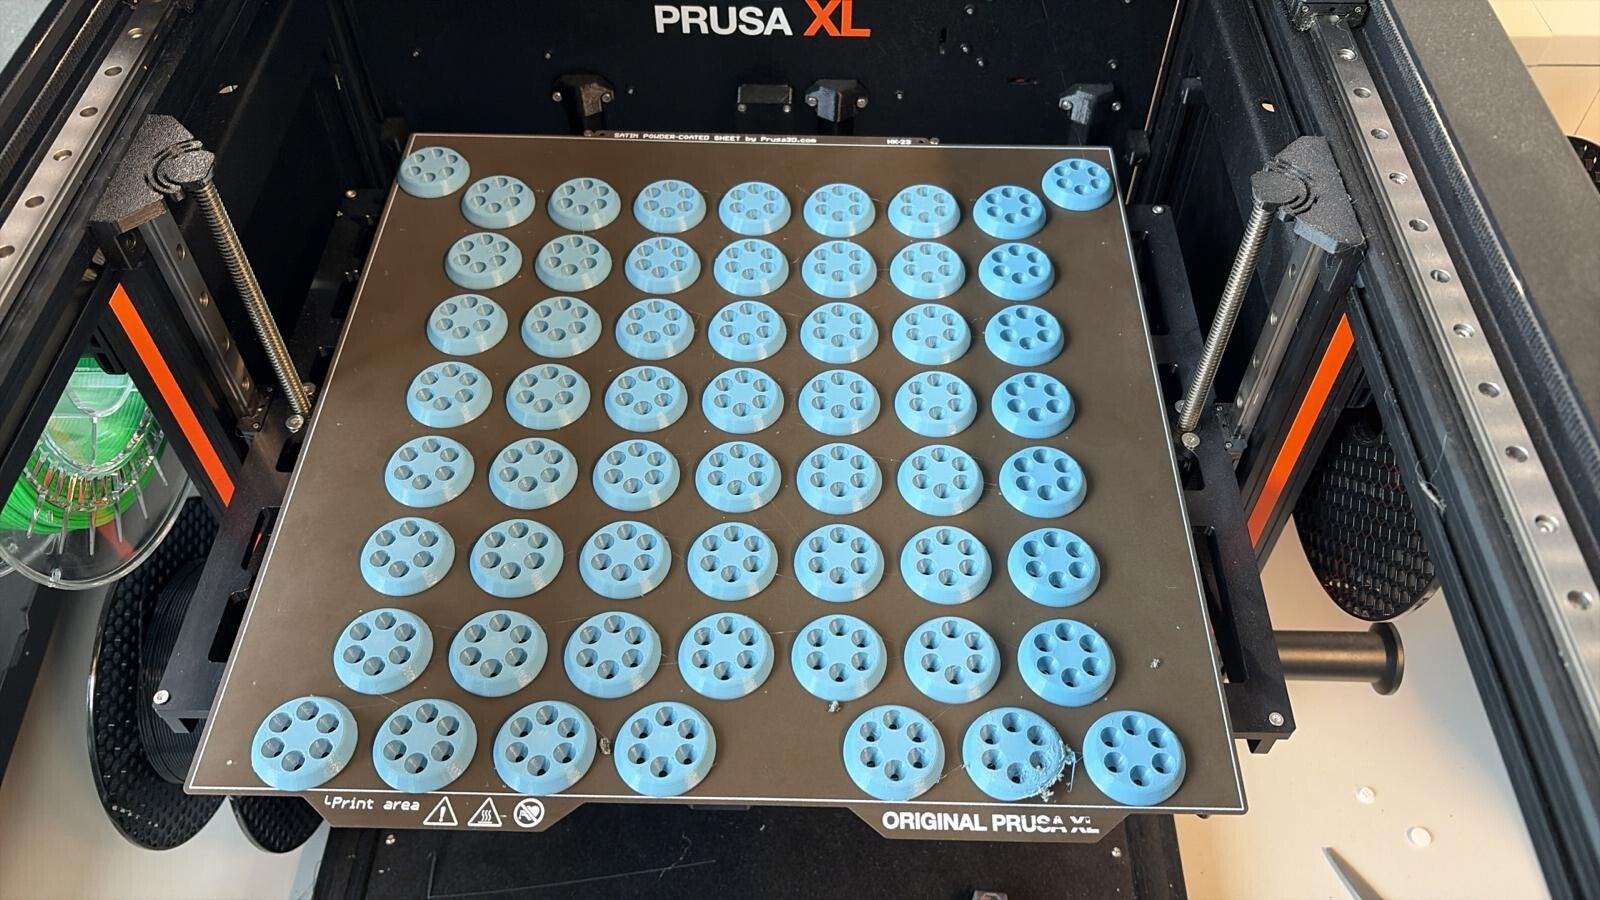
Before you start assembling your FreeSlide Plates, carefully inspect all printed parts for defects, uneven surfaces, or poor print layers.
Set aside any damaged or incomplete parts and reprint them if necessary to ensure a proper fit and good stability.
Can you spot which Slide Plate in the picture didn’t make the cut?
The answer is coming up!
Step 2: Insert the Plastic Balls
Found it?
Exactly — it was the second one from the right in the bottom row.
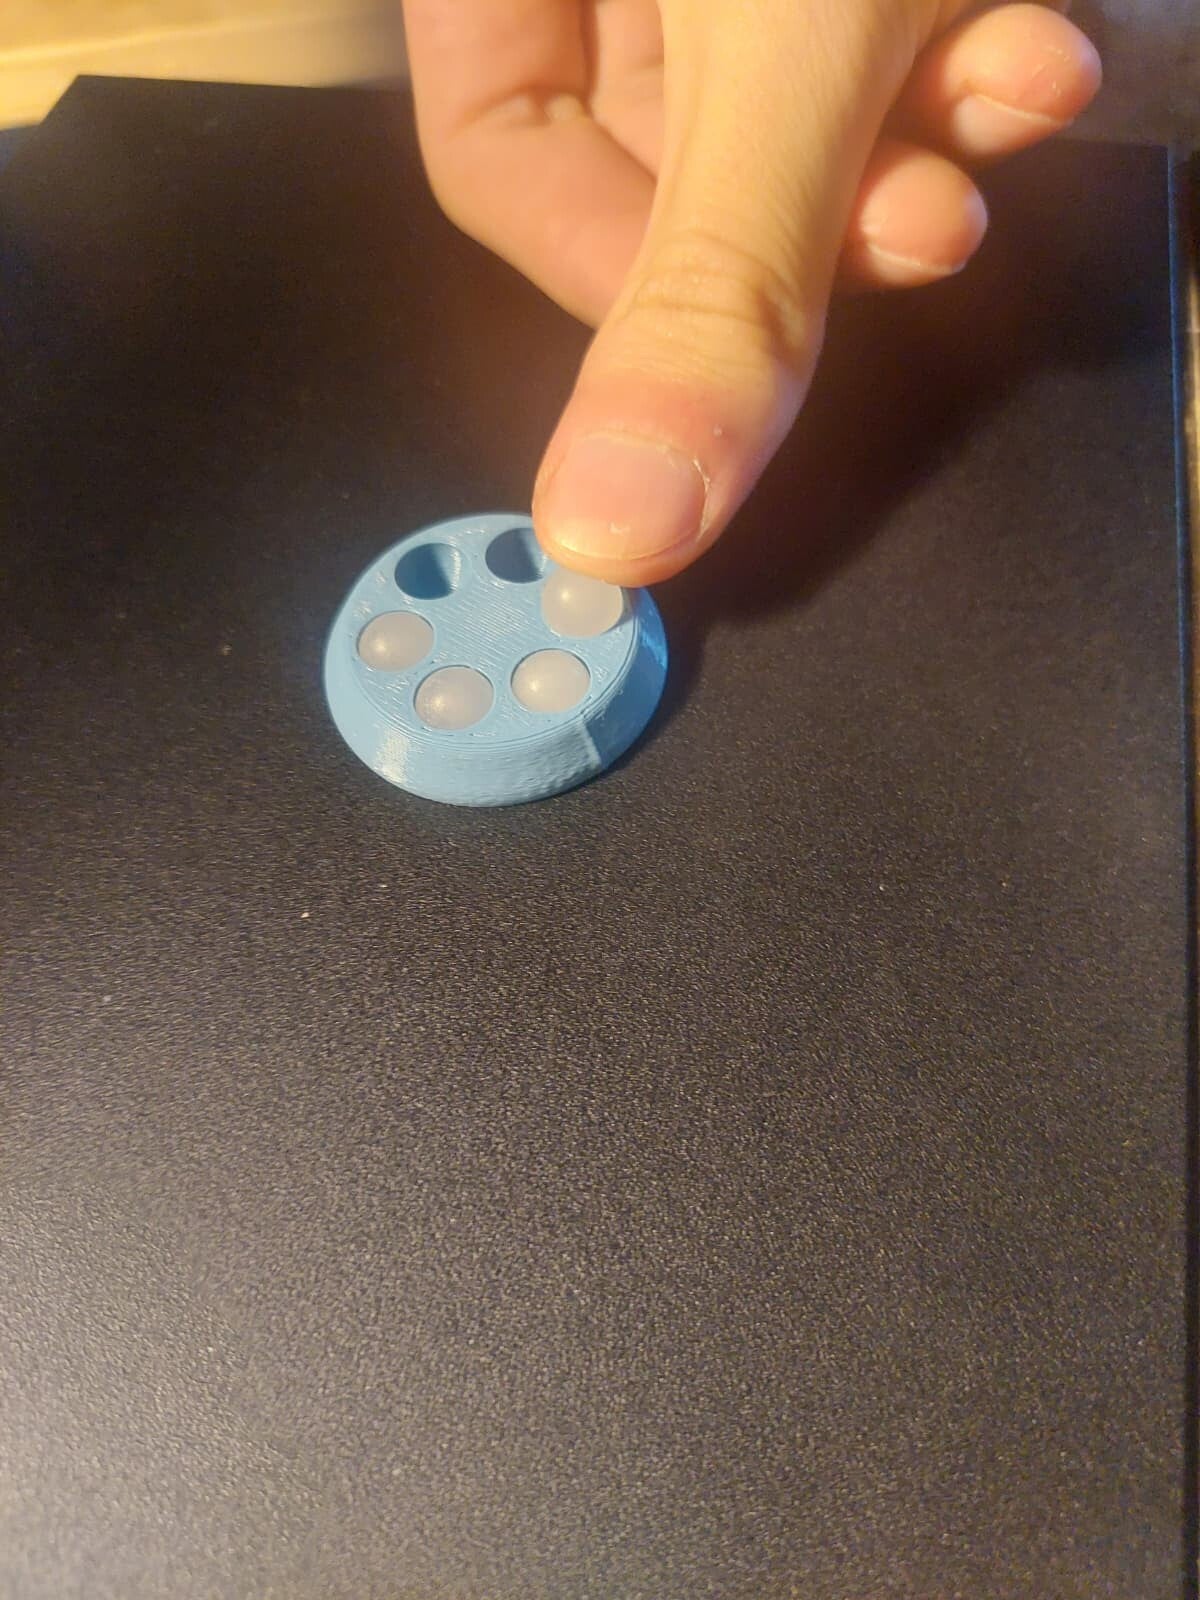
Now press the approximately 350 plastic balls (8 mm diameter) into the designated sockets one by one.
Filling all the sockets takes a bit of time and patience, but it’s surprisingly satisfying — almost meditative.
Make sure every ball sits securely while still being able to rotate freely.
Step 3: Cut the Hook-and-Loop Tape
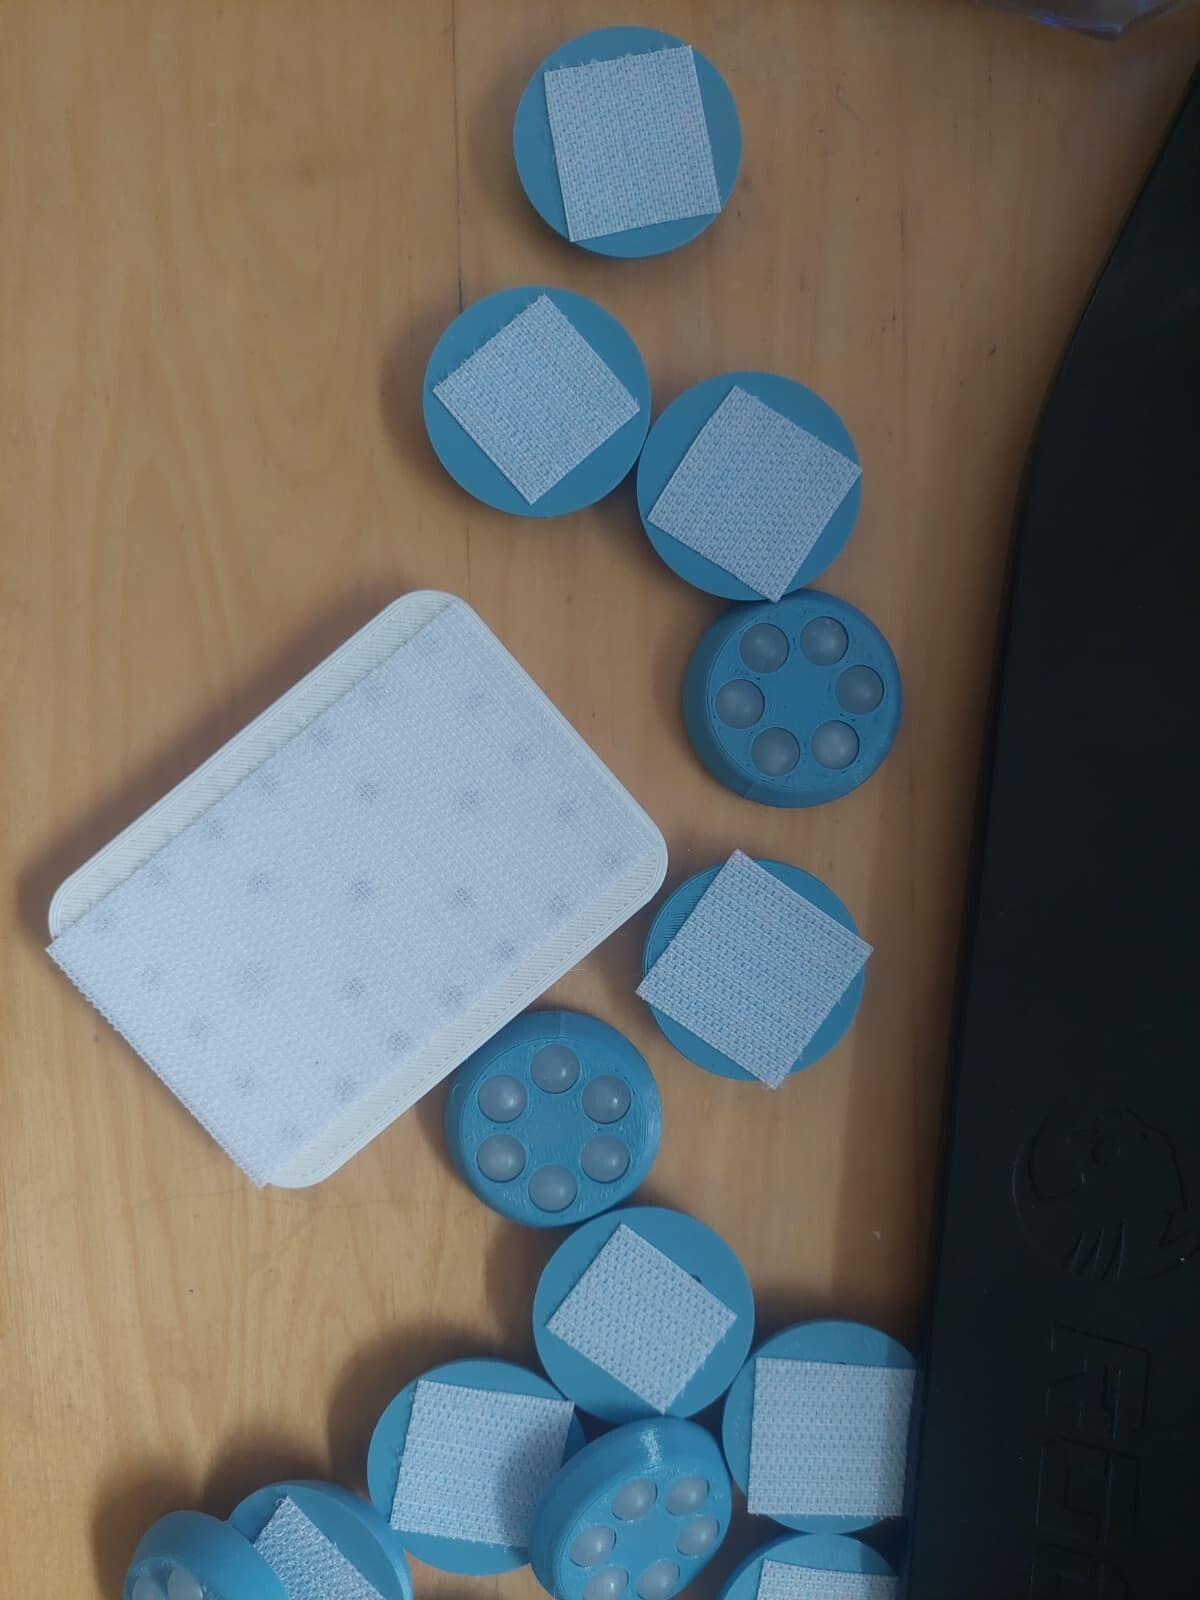
Cut the self-adhesive hook-and-loop tape to size.
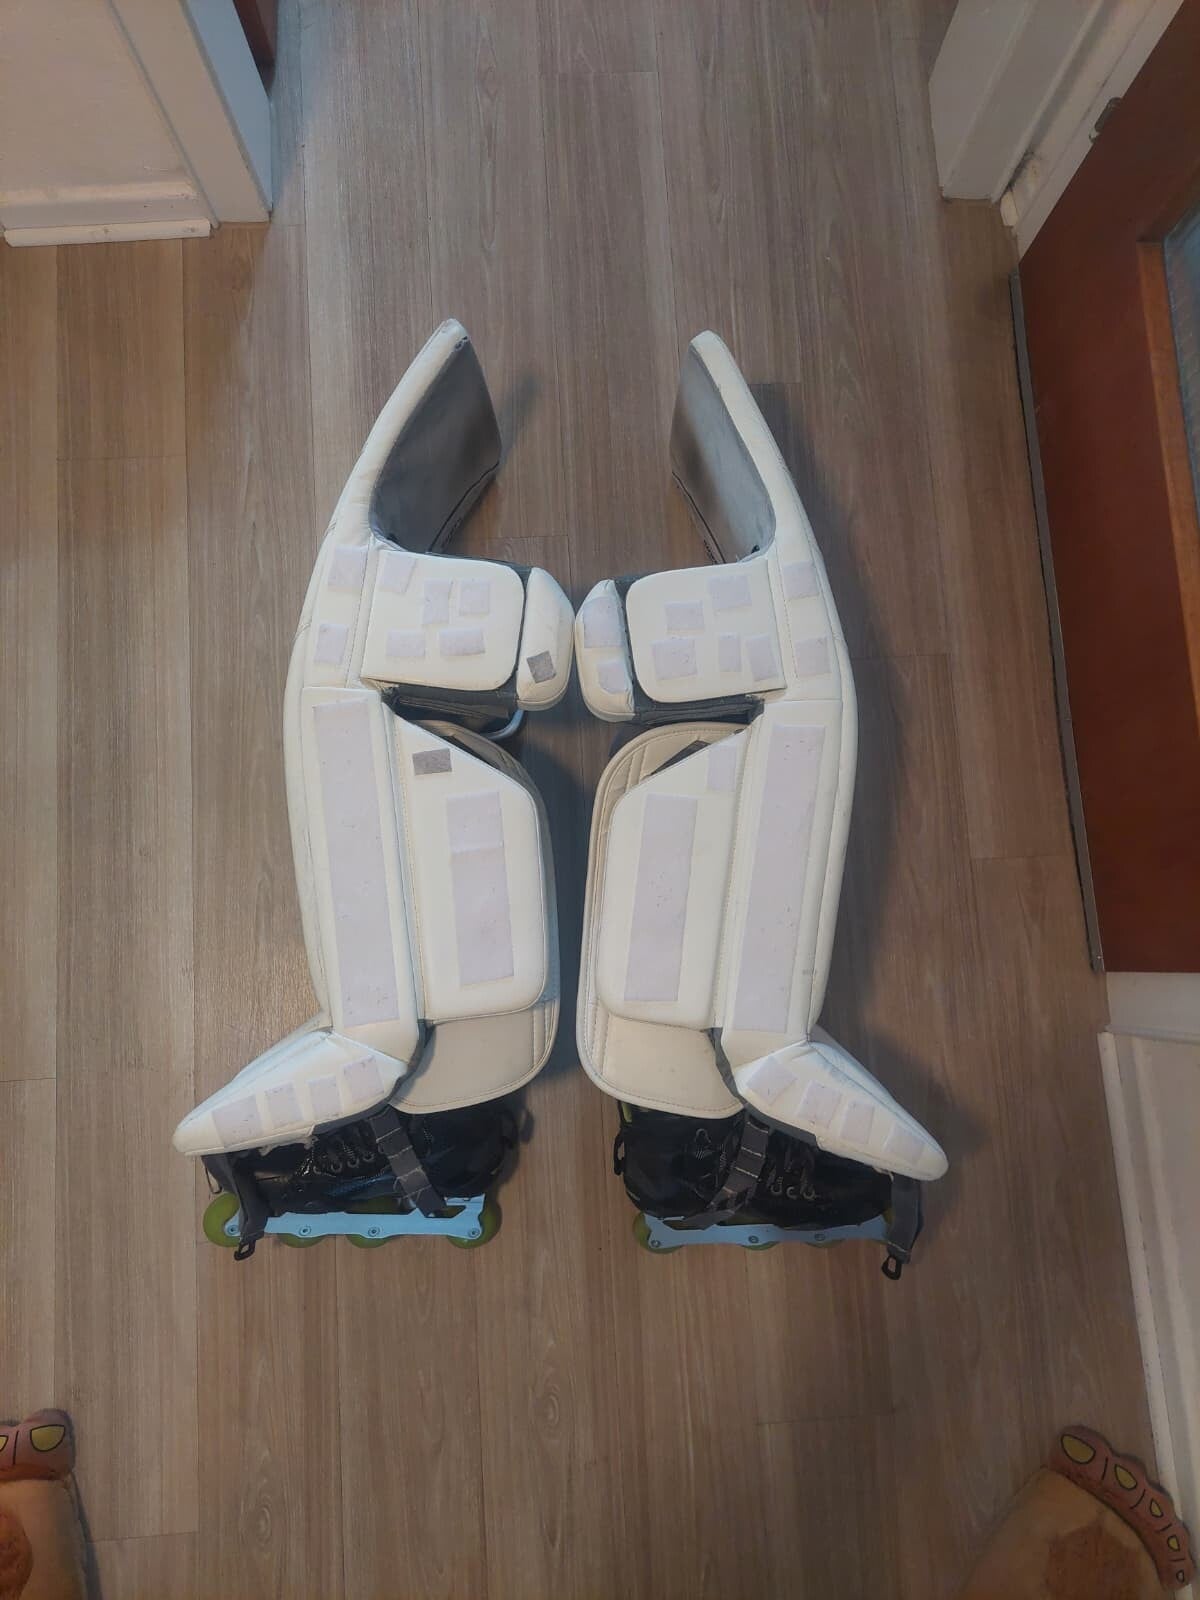
Attach the rough hook side to the back of your Slide Plates.
Step 4: Attach the Tape to Your Goalie Pads
Cut the self-adhesive hook-and-loop tape to fit and attach the soft loop side to the bottom of your goalie pads.
The picture shows one possible setup, but feel free to arrange the tape in whatever way works best for your pads.
Step 5: Attach the Slide Plates
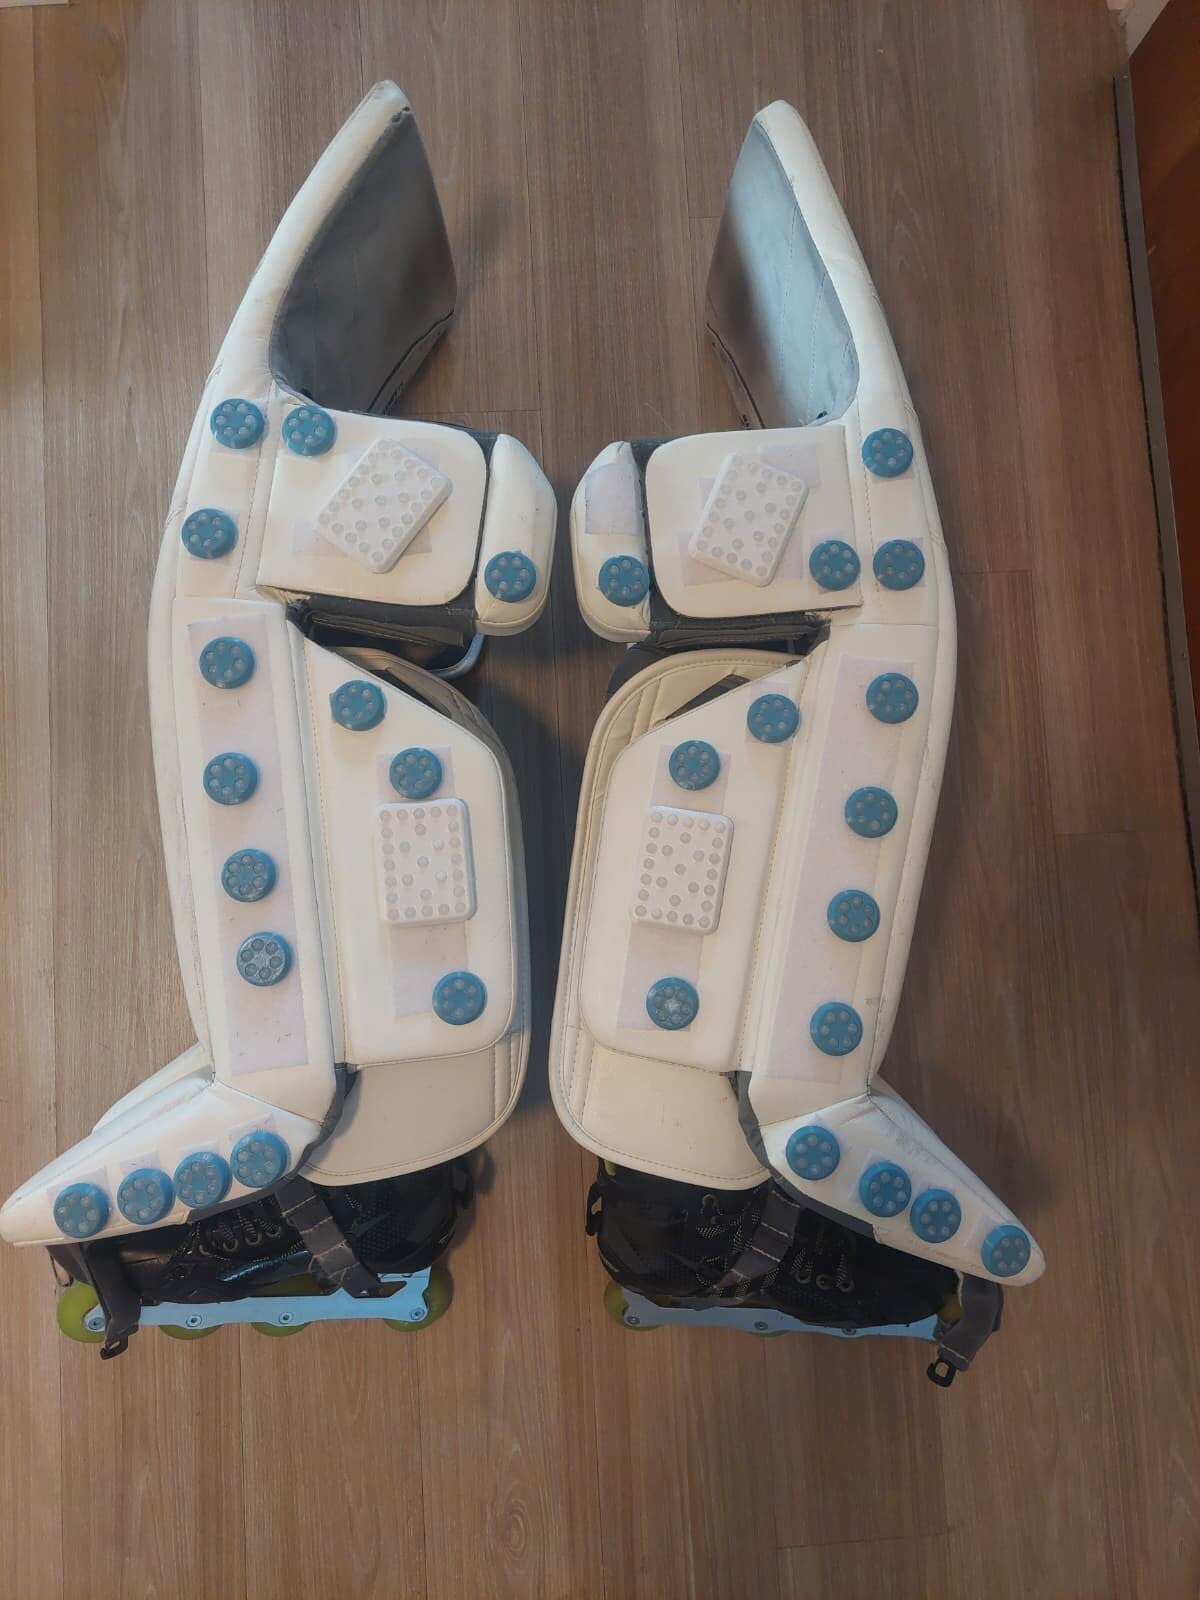
Press the Slide Plates onto the soft hook-and-loop surface on your goalie pads.
The picture shows one possible setup, but the exact positioning is completely up to you.
We recommend testing your setup during practice first. Pressure points and ideal plate positions vary from goalie to goalie, so it may take a little experimenting before you find the setup that works best for you.
One tip that has worked well for us:
When you’re in the butterfly position, there should ideally be a small gap underneath your goalie pads — in other words, you should be able to see underneath them.
This helps ensure that the Slide Plates, rather than the pads themselves, are making contact with the floor.
Step 6: One Last Check Before Your First Practice
You’ll probably adjust the position of your Slide Plates several times during the first few days or weeks.
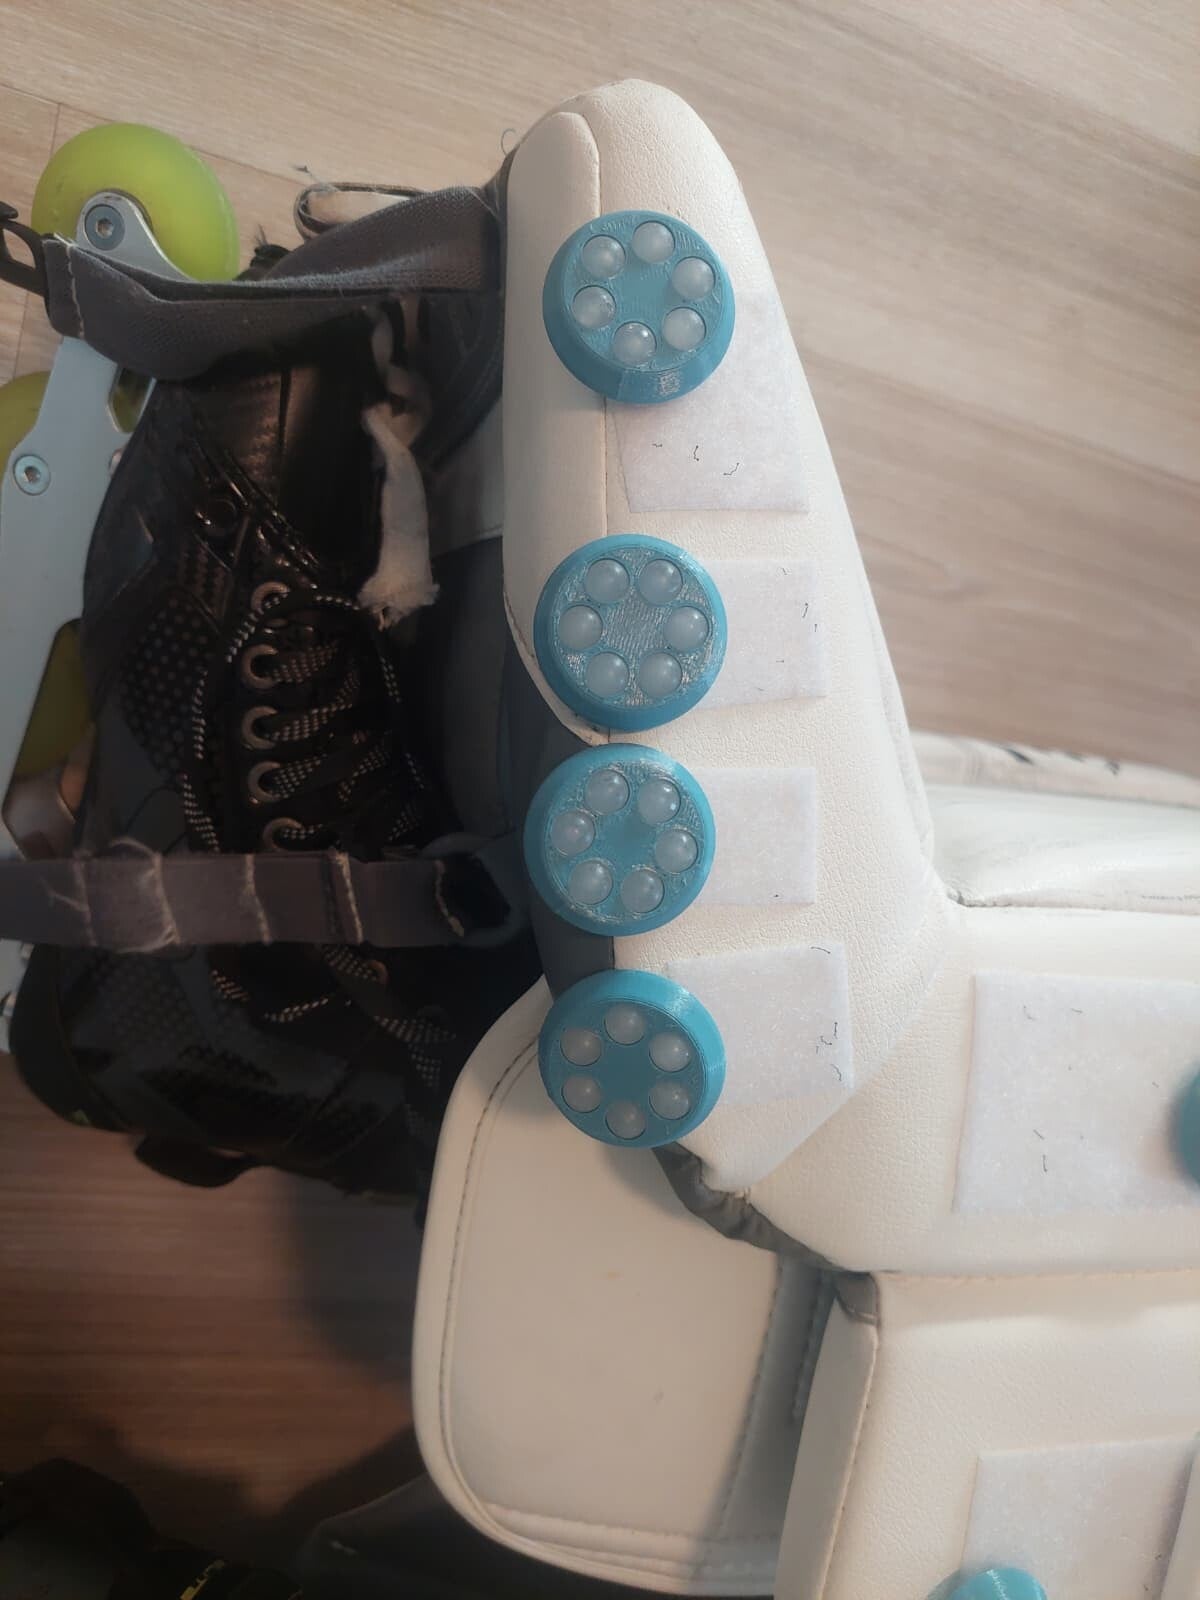
Before using them in a game, however, make sure that none of the plates extend beyond the edge of your goalie pads.
Otherwise, they may catch on something during play and come loose.
And once you’ve gotten used to sliding with Plates, playing without them just isn’t the same!
The picture on the right shows an example of what not to do :)
Erstelle deine eigene Website mit Webador